More Knock Off Designer Curtains

If it hasn’t been assumed yet through following this blog, I’m a cheap, cheap girl. I would rather spend hours and hours of personal time creating an identical piece of anything that is exorbitant in price. Curtains are obviously no exception. I’ve already shared my knock off Waverly pattern that saved me HUNDREDS for our bedroom curtains. The bedroom isn’t the only place knock off designer curtains exist in our house. I also crafted up our dining room curtains. I really wanted these fabulous curtains from West Elm featured on my inspiration board for the dining room. Grayish with Marigold horizontal lines running across them. Lovely. Unfortunately if I remember correctly they were going to be $40 or more a panel. Not a Lizzie price tag at all.

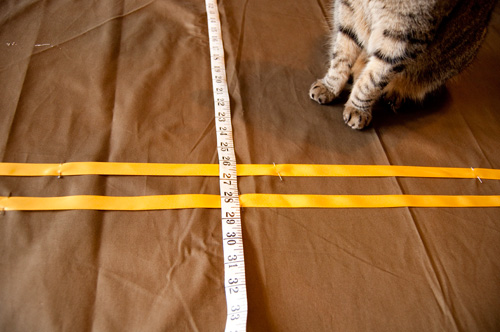
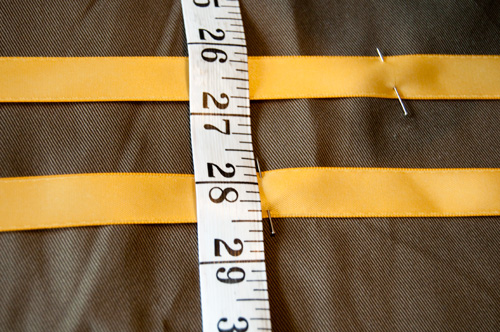
I decided the basic style of the curtains were easy enough to knock off. I started by purchasing basic brownish gray curtains from Ikea for if I remember correctly $18 for the pair. They weren’t satin/silk but for 4 times cheaper cotton would be fine with me. I then enlisted the help of my fabulous Mom to sew the horizontal stripes. We figured out how high we wanted the strips to sit (26″ from top of curtain). I also chose (since I had creative freedom and all) to make 2 stripes instead of 1, spacing them 1 inch apart.

Using Marigold satin ribbon we spaced it, pinned it, and sewed it. If anyone has a cat in their house they know how these darling creatures always want to be front and center helping with any project or activity.

The entire project didn’t take more than an hour or two including the hashing out of how high and how to space. The worst part of the entire endeavor was how wiggly the fabric insisted on being. Well, the wiggling of the ribbon and the lack of pressure on the foot of the sewing machine we were using. None the less I really love how they came out. I would argue that they are better than the originals.

Burrito’s 1st Birthday Smash

A very good friend of ours had a baby a year ago. That means we were invited to a 1st birthday party. Auntie Lizzie got the honor of baking The Burrito’s* First Birthday Cake, or “smash cake” as all the cool kids are calling it these days. (*Burrito is not her birth name, but a loving nick name Auntie Lizzie and Uncle Brendan had bestowed on her after seeing her wrapped up like a burrito as an infant)

I will admit I went the old school route and “box of caked” this little number (and icing in a can for that manner) but figured our little 1 year old wouldn’t fully appreciate the labor of love that is properly measuring dry ingredients.

Although my day dreams of the mess she was going to make of this little darling were a little far fetched, she still managed to get some quality Kodak moments.

At first a little hesitant and unsure…

She eventually got the hang of it. This made for lots of giggles, pictures, and overall joy from the entire party. Honestly, there’s only a few moments in your life you can get this messy and not get in trouble for it. Might as well live it up, right?

Happy First Birthday Burrito! We love you. Especially with cake on yo face.

Booze Cakes: Champagne Cupcakes

Stuck for a unique and heart filled wedding present especially for foodies? Looking to give a little more than the traditional moola? Trying to come up with a new dessert twist for New Years? This ladies and gents is the recipe you’ve been looking for! I actually brought these as a gift for a wedding I was a date to. Figured I could bring something even though frankly I didn’t know the bride and groom at all. My only warning is make sure someone knows the box you brought is perishable. No one wants to return from their honeymoon to rotten moldy booze cakes. If you know the hotel the bride and groom will be “wedding nighting” it in, ask the front desk to leave it in their room. I’m sure they’ll be overjoyed to happen upon a late night snack after all that partying.

Recipe was found at “yum sugar” and I didn’t stray far from it. I made a butter cream rather than a cream cheese frosting. I think this recipe would be best with a glaze rather than a heavy butter cream. Next wedding I’ll be sure to try it. And of course, as always, add as much booze as you’d like to the frosting to give it a scrumptious kick.

Organizing a Tiny Pantry

As previously discussed on this blog, our apartment came with awesome closets but no shelving. We solved the problem with building shelves for our pantry. Catch was the shelves didn’t hold all the stuff we had shoved in that closet. Slowly but surely the closet got jam packed to the point that I couldn’t walk in it anymore without tripping on something. For an organized girl like myself this mess wasn’t going to work for me.

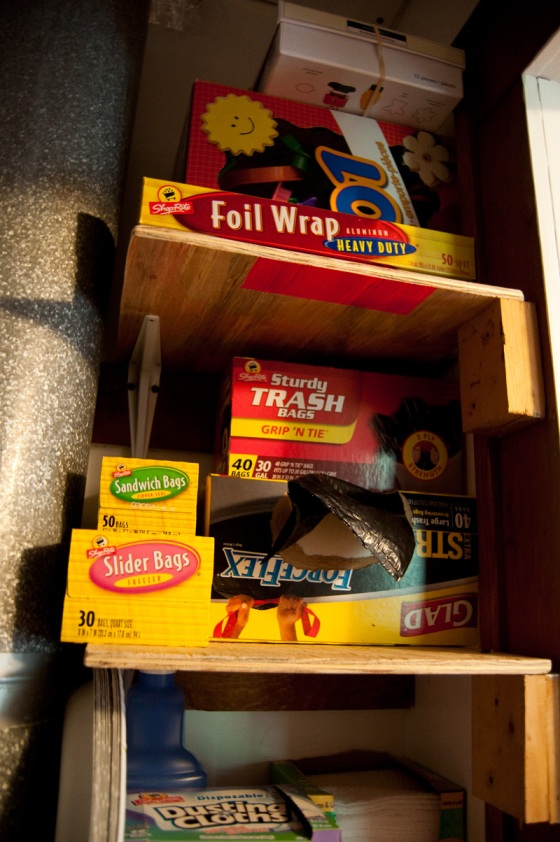
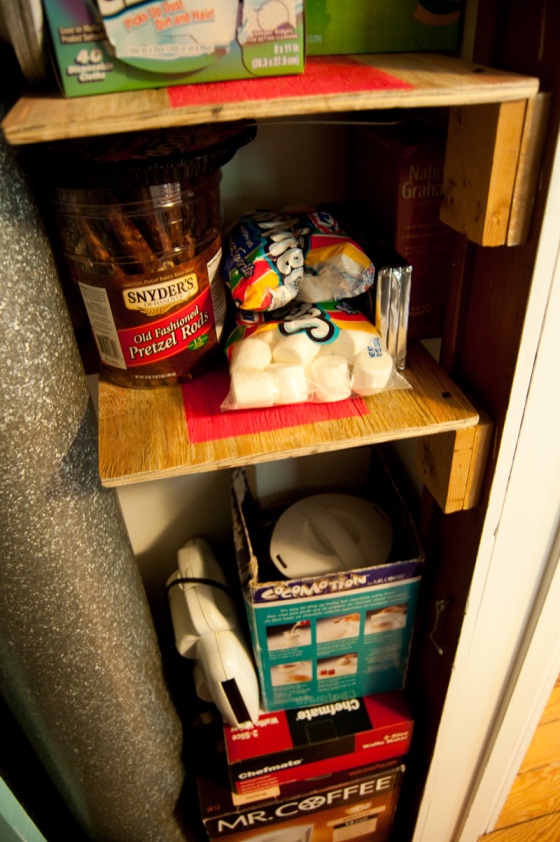
We finally found 2 hours together to throw together a few more shelves. This time rather than building free standing shelves we used the existing ledgers that were in the closet and more of my engagement signs to fashion quick simple shelves.

We measured the existing space, cut the plywood to size, and screwed the pieces into the existing ledgers. We added brackets to the one side of each shelf that had no ledger for additional support. The brackets were probably a dollar or so each. Other than that the project was free. The best kinds of projects in my opinion.

I was loading the shelves before Brendan could get off the ladder. I couldn’t wait. Within 2 hours my pantry went from cluttered floor covered mess to organized clear-floored beauty. I absolutely love being organized.

Posted in DIY